How To Install A Lace Closure: The Glue-in and Sew-in Method
Lace closures have revolutionized the world of hairstyling, offering a seamless and natural look that many women desire. Whether you're new to the world of lace closures or looking to perfect your technique, this guide will walk you through two popular methods of installation: the glue-in and sew-in methods.


Now, let's explore the step-by-step instructions for both the glue-in and sew-in methods.
Begin by washing and drying your natural hair.
Step 2: Braid Your Hair:
Braid your hair into small cornrows and secure it with hairpins. Flatten all your hair against your scalp using a wig cap.
Step 3: Check Fit:
Place the lace frontal or closure on your head to ensure it fits properly and aligns with your natural hairline.
Step 4: Apply First Layer of Glue:
Take off the frontal/closure and apply the first layer of glue in small sections along the hairline using a brush.
Step 5: Spread Glue:
Spread the glue evenly along the hairline and use a blow dryer to dry it.
Step 6: Apply Second Layer of Glue:
Apply a second layer of glue and again, blow-dry it until it becomes tacky.
Step 7: Use Freeze Spray
Apply freeze spray to help your wig stay in place.
Step 8: Attach the Lace Front/Closure:
Carefully place the lace frontal or closure back on your head, aligning it with your natural hairline. Ensure that it's perfectly centered and check both ears for alignment.

Step 9: Trim Excess Lace:
If the lace frontal or closure extends beyond your natural hairline, trim the excess lace using scissors.
Step 10: Conceal Knots:
Apply concealer to blend the knots with your skin tone for a more natural look. Comb and style your hair as desired.
Ensure your hair and scalp are clean before applying the cap, as it will cover your head wefts and hair closures. Choose a cap that matches your hair color for a seamless blend.
Step 2: Cornrow Your Hair:
Create small and tight cornrows on your head, ensuring they are close to your scalp. This will prevent any bulging when you sew in the hair closures or frontal.
Step 3: Cover with a Square Hairnet:
Place a square hairnet over the top of your head, matching the color to your hair for a seamless look.
Step 4: Whip-Stitch the Lace Closure/Frontal:
Starting from the back, use a weaving needle to whip-stitch the net to the edge of the cornrow. Always begin at the end of the cornrow and work your way towards the front.

Customize Hairline: Pluck a few hairs from the closure's hairline for a more realistic appearance.
Concealer Trick: Apply concealer to the parting and knots to mimic your scalp's color.
Baby Hairs: Create delicate baby hairs along the hairline for added authenticity.
Blend with Your Hair: Blend the closure with your natural hair texture, whether through curling, straightening, or using styling products.
Secure Properly: Ensure the lace closure is securely attached to prevent unnatural movement or shifting
Macsara offers lace closures in different dimensions, such as 2x4, 2x6, 4x4, 5x5, and 6x6, to cater to the diverse needs of our customers. These hairpieces are an excellent choice for those who desire a natural-looking part with added volume in that area or want to conceal small areas of thinning hair. Furthermore, our Swiss lace is both see-through and lightweight, ensuring a seamless blend and a comfortable feel. When applied correctly, it becomes virtually invisible to the naked eye!
With a wide range of sizes, textures, colors, and lengths available, our lace closures are suitable for all hair types. Don't hesitate to place an order and elevate your hairstyle! Contact us now for more information via (+84) 37 9989 559 for more information and best deals!
1. What is a Lace Closure?
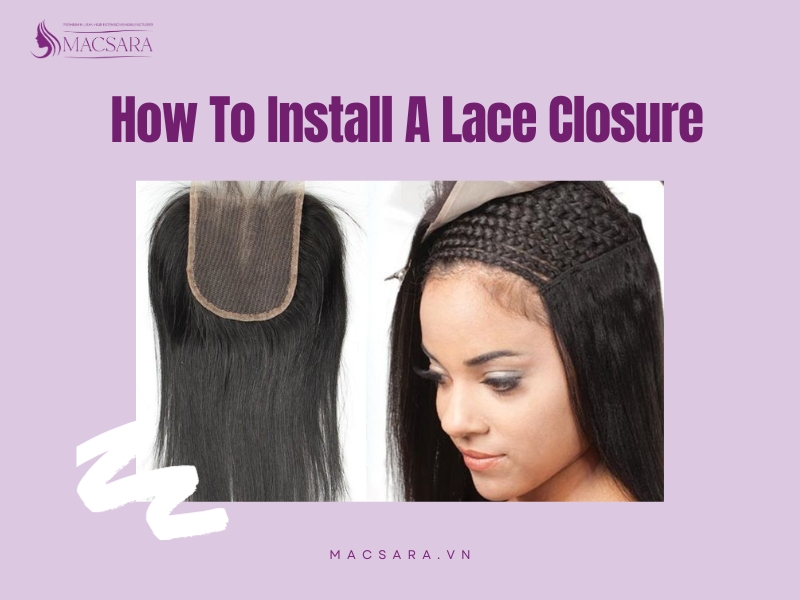
Before we dive into the installation process, let's briefly discuss what a lace closure is. A lace closure is a hairpiece made of lace or a similar material with hair strands attached. It's designed to mimic the appearance of a natural hairline and scalp, allowing you to achieve a realistic and flawless look when wearing wigs or extensions.
Now, let's explore the step-by-step instructions for both the glue-in and sew-in methods.
2. How to Install a Lace Closure Using Glue
Note: When using glue, it's crucial to use the right adhesive specifically designed for installing lace closures. Do a skin test a day before to check for any allergic reactions.What You Need:
- Lace frontal or lace closure
- Lace wig cap
- Brush
- Glue (lace front/closure adhesive)
- Scissors
- Freeze spray
- Hair mousse
- Silk scarf
- Foundation brush and concealer
Step-by-Step Instructions:
Step 1: Prepare Your Natural Hair:Begin by washing and drying your natural hair.
Step 2: Braid Your Hair:
Braid your hair into small cornrows and secure it with hairpins. Flatten all your hair against your scalp using a wig cap.
Step 3: Check Fit:
Place the lace frontal or closure on your head to ensure it fits properly and aligns with your natural hairline.
Step 4: Apply First Layer of Glue:
Take off the frontal/closure and apply the first layer of glue in small sections along the hairline using a brush.
Step 5: Spread Glue:
Spread the glue evenly along the hairline and use a blow dryer to dry it.
Step 6: Apply Second Layer of Glue:
Apply a second layer of glue and again, blow-dry it until it becomes tacky.
Step 7: Use Freeze Spray
Apply freeze spray to help your wig stay in place.
Step 8: Attach the Lace Front/Closure:
Carefully place the lace frontal or closure back on your head, aligning it with your natural hairline. Ensure that it's perfectly centered and check both ears for alignment.

Step 9: Trim Excess Lace:
If the lace frontal or closure extends beyond your natural hairline, trim the excess lace using scissors.
Step 10: Conceal Knots:
Apply concealer to blend the knots with your skin tone for a more natural look. Comb and style your hair as desired.
3. How to Install a Lace Closure By Sewing
What You Need:
- Lace frontal or lace closure
- Square hairnet
- Comb
- Scissor
- Hair mousse
- Step-by-Step Instructions
Step-by-Step Instructions:
Step 1: Apply a Lace Cap:Ensure your hair and scalp are clean before applying the cap, as it will cover your head wefts and hair closures. Choose a cap that matches your hair color for a seamless blend.
Step 2: Cornrow Your Hair:
Create small and tight cornrows on your head, ensuring they are close to your scalp. This will prevent any bulging when you sew in the hair closures or frontal.
Step 3: Cover with a Square Hairnet:
Place a square hairnet over the top of your head, matching the color to your hair for a seamless look.
Step 4: Whip-Stitch the Lace Closure/Frontal:
Starting from the back, use a weaving needle to whip-stitch the net to the edge of the cornrow. Always begin at the end of the cornrow and work your way towards the front.

4. Tips for a Natural Look When Installing a Lace Closure:
Choose a Matching Shade: Select a lace closure that closely matches your natural hair color to ensure a seamless blend.Customize Hairline: Pluck a few hairs from the closure's hairline for a more realistic appearance.
Concealer Trick: Apply concealer to the parting and knots to mimic your scalp's color.
Baby Hairs: Create delicate baby hairs along the hairline for added authenticity.
Blend with Your Hair: Blend the closure with your natural hair texture, whether through curling, straightening, or using styling products.
Secure Properly: Ensure the lace closure is securely attached to prevent unnatural movement or shifting
5. Macsara - Where you can buy high-quality, affordable lace closures
If you are looking for a reliable supplier of high-quality yet affordable lace closures, Macsara is proud to be your top choice. Our lace closures are crafted from 100% Remy human hair, which means they remain free from tangles and shedding when properly cared for. While they can maintain their quality for up to a year with appropriate upkeep, it's essential to remember that you should remove your lace closure every 2-3 weeks as your natural hair grows and pushes it out of place.Macsara offers lace closures in different dimensions, such as 2x4, 2x6, 4x4, 5x5, and 6x6, to cater to the diverse needs of our customers. These hairpieces are an excellent choice for those who desire a natural-looking part with added volume in that area or want to conceal small areas of thinning hair. Furthermore, our Swiss lace is both see-through and lightweight, ensuring a seamless blend and a comfortable feel. When applied correctly, it becomes virtually invisible to the naked eye!
With a wide range of sizes, textures, colors, and lengths available, our lace closures are suitable for all hair types. Don't hesitate to place an order and elevate your hairstyle! Contact us now for more information via (+84) 37 9989 559 for more information and best deals!


Comments
Post a Comment